SESAME SEED BUNS 😋

- Advertisement -
Ingredients:
20 g fresh yeast
1 tablespoon plus 1/2 teaspoon Sugar
3 tablespoons of water
4 cups of flour
1 teaspoon salt
1/2 teaspoon of Turmeric
300 cm3 of Milk
3 tablespoons of sesame seeds
Icing:
1 egg
Preparation:
- Crumble the yeast into a small bowl and, with the help of a fork, mix it with 1/2 teaspoon of sugar. Add the water and beat until it forms a smooth cream. Let the preparation rest in a warm place, from 15 to 20 minutes, until the yeast increases its volume.
- Sift the flour, salt, turmeric, and remaining sugar into a large bowl. Hollow out in the center and pour the previous preparation inside. Add a tablespoon of sesame seeds in the form of rain. With the help of a spatula, or with your hands, work the dough until the flour is well integrated into the liquid.
- Flour a flat surface and knead the bun for 10 minutes, adding flour each time the dough becomes sticky. The dough should be elastic and soft at the same time.
- Carefully rinse and dry the used bowl. Grease it and place the bun inside the bowl. Cover with a canvas and let rise in a warm place for 1 AND 1/2 hours, or until the dough rises and doubles its original size.
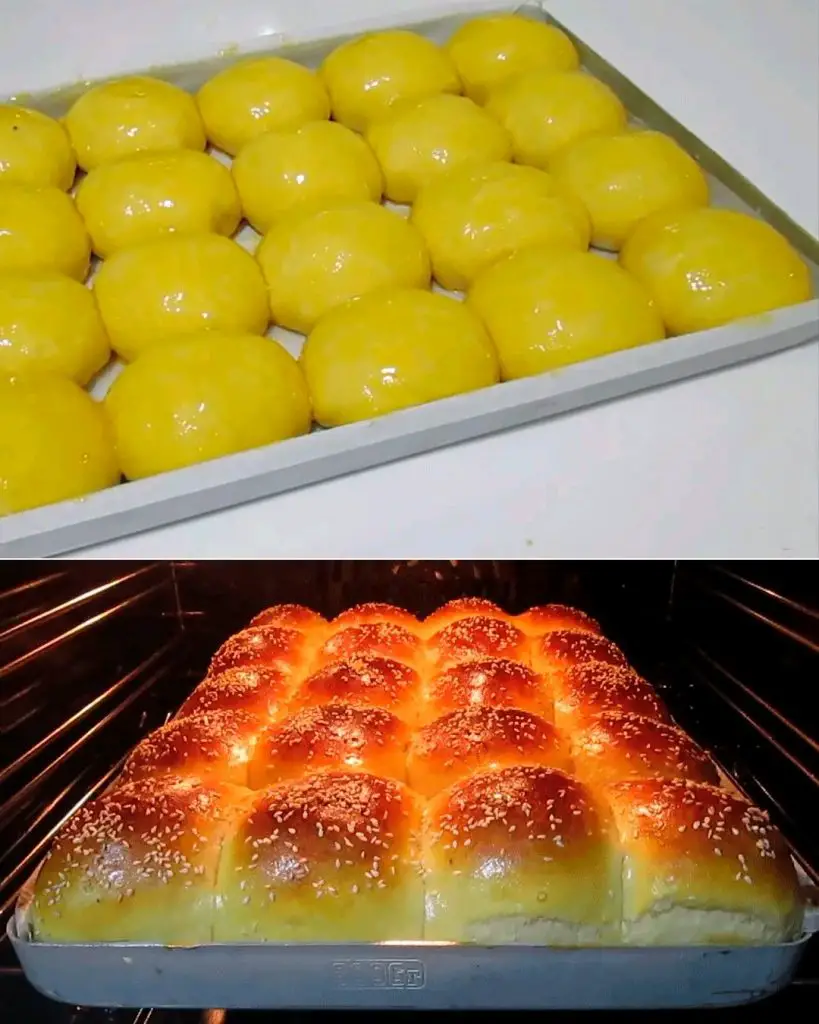
- Put the dough back on the floured surface and work it with your hands for 4 minutes; Divide into 8 portions and roll to form rolls 12 cm long and 3 cm thick. Arrange them spaced on a previously greased baking sheet; let stand 30 more minutes.
- While the oven is heating up to a temperature of 220°C, paint the buns with the icing with the help of a pastry brush and sprinkle them entirely with the remaining sesame seeds.
- Bake for 20 to 25 minutes, or until buns are puffed up and well browned.
- Remove the plate from the oven. To test if they are ready, tap their surface with your knuckles; if it sounds hollow, they’re on point; otherwise, bake for another 5 minutes, taking care to turn them over before placing them in the oven.
- Let cool completely on a wire rack.


Leave a Comment